Showing posts with label wallpaper. Show all posts

Tuesday, August 27, 2013

Bathroom Reno - It's Demo Day!

Bathroom Reno
Day One

There are at least five boxes of pink and beige tile on the curb outside Ms. H's house tonight.  As well as a dismantled vanity, the old sink and faucet, medicine cabinet, and three boxes of ripped out drywall.
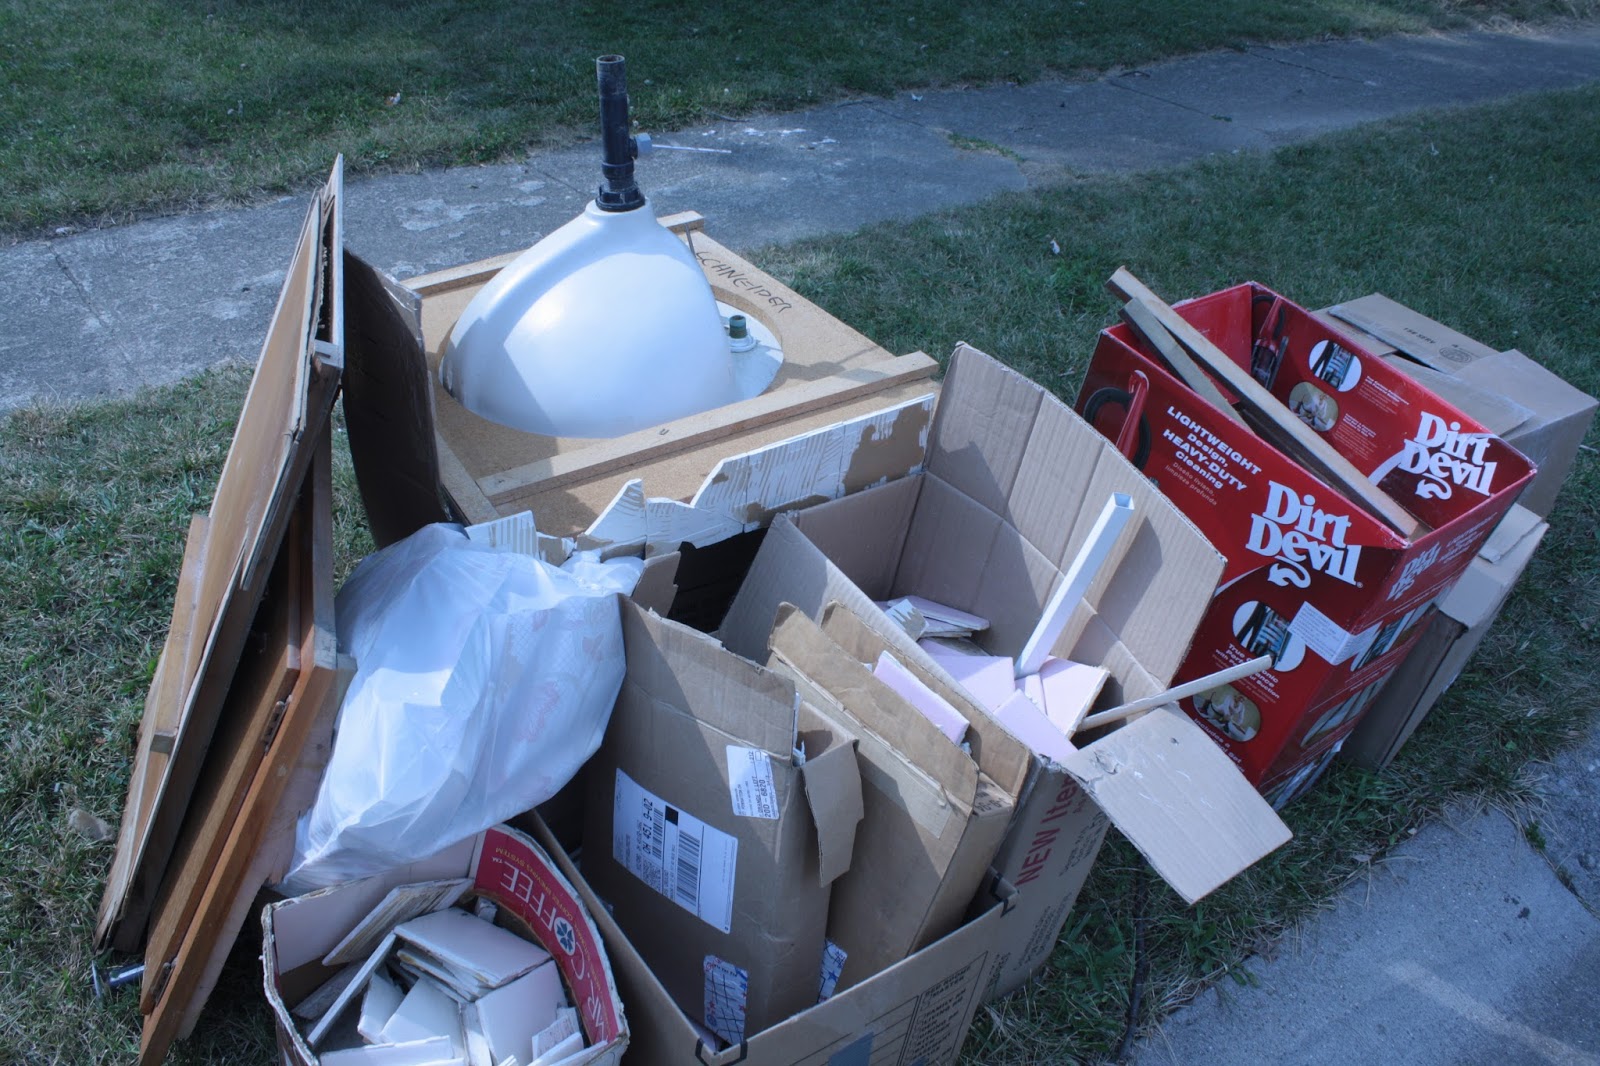
We got tons done today.  But as with pretty much any major reno, there were some hiccups.


First, we had planned on adding a new overhead light/vent combo.  Dad and I looked up in the attic, and upon further examination, realized that was going to be quite a bit more complex than we had planned. 
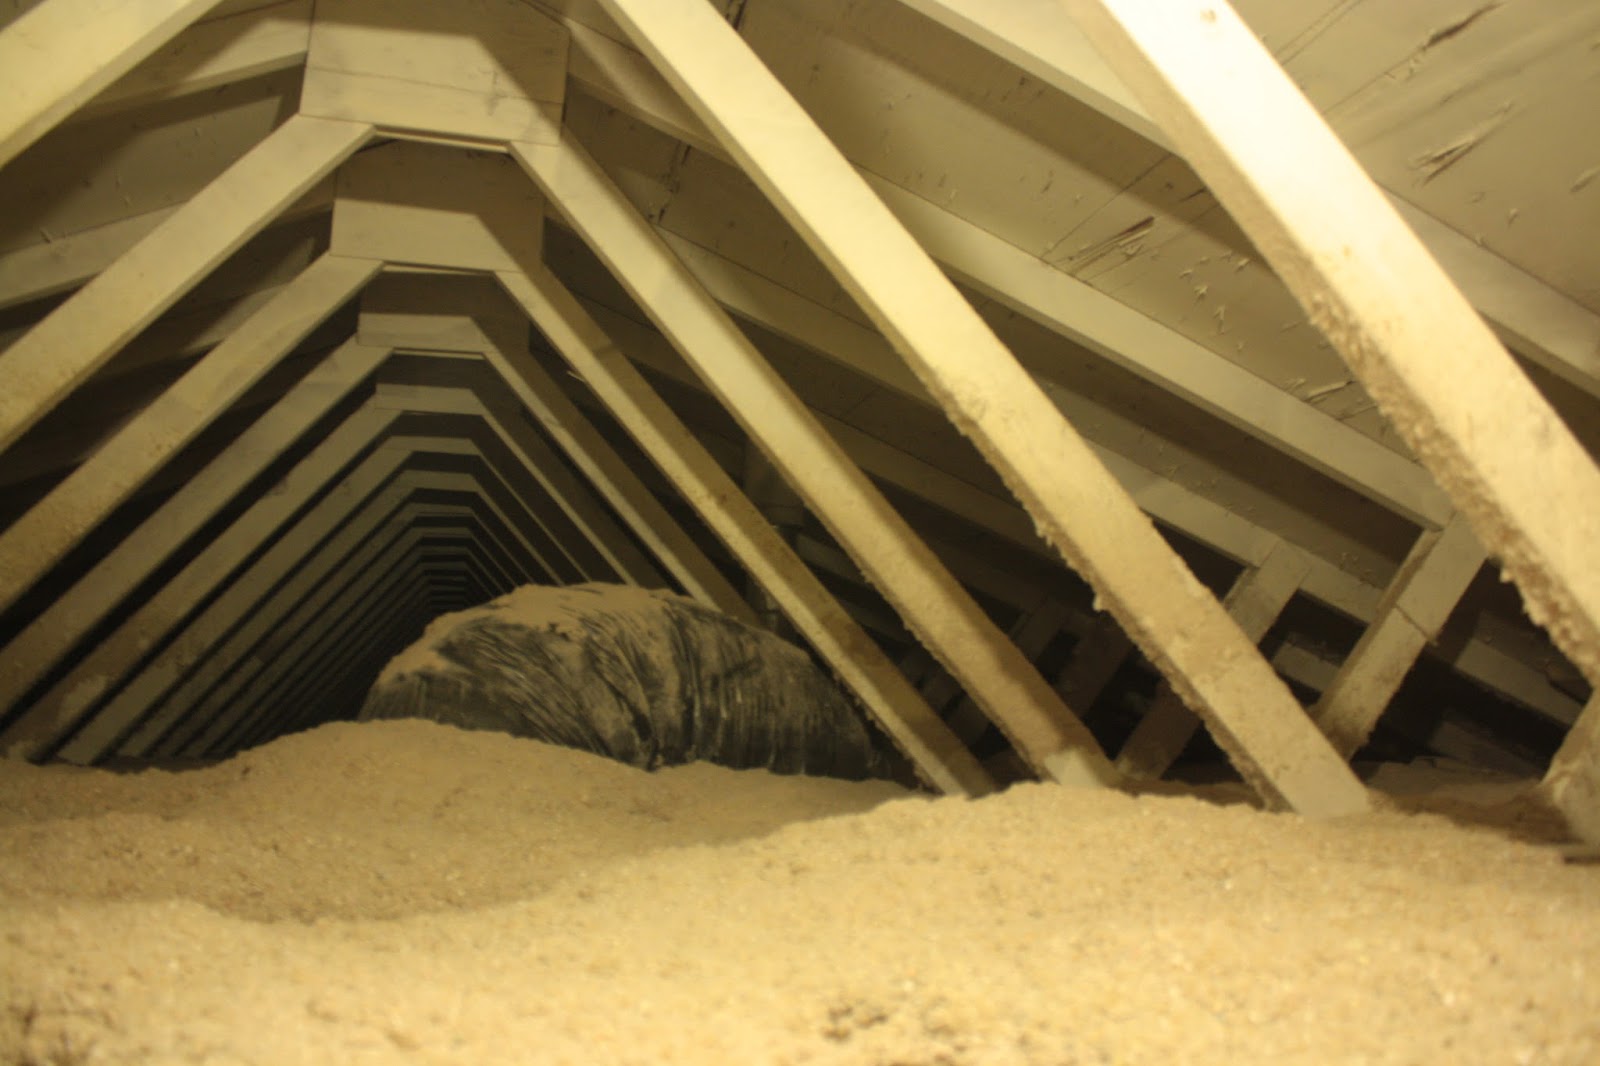


There is a large HVAC duct in the way, and the bathroom vent would need to be run outside.  The roof is quite low near the edge of the house, making the space we'd have to work in pretty small.  
We were bummed.  After deliberation, we reluctantly decided that was probably biting off more than we could chew.  
So on we went with demo.  Here's one last look at it, it all its pink tiled glory. 


Demo went relatively quickly.  But there were only a few fixtures and screws that required me to use my awesome new Ryobi drill.   Don't worry... I'll find more excuses to use you, my little friend. :-)

I was feeling generous and even let my Dad borrow my new toy.


Ms. H got in on the action, too...buh bye wallpaper!


We also ran into a hiccup where we planned to put built-in shelves over the toilet.  

But once we removed the medicine cabinet, we could see behind the drywall, and found that there's a plumbing vent running all the way up the wall right smack in the middle of where we were planning on having a nice big built-in.

Darn.

It was about lunch time when we found this.  My brain was sorely under-caffeinated at that point.  Time to refuel and re-evaluate.
This is where it would be pretty easy to get frustrated.  But that's par for the course on jobs like this.  You have to be able to adapt.
I have a plan to work around it, I think.  Can you guess what it is?

Anne

Sunday, August 18, 2013

Daughter-Dad Design: A friend's old bathroom

My Dad and I are good pals these days.  He's my go-to guy for many of the projects I do.  Anything that needs fixing, shoring up, or building gets put in Dad's capable hands.


He's been DIYing stuff, big and small, since way before DIYing anything was cool.  He's retired now, so we have loads of fun together when we get to work on projects.  (Here's the link to the post when we built this cool hall bench, for a good cause!)

The next thing we're doing is a complete bathroom reno for a good family friend.


We'll call her Ms. H here - and she's been friends with my parents literally for decades (she's with my little girl in the pic.)  She and my mom are both nurses and have spent their whole lives taking care of other people.
My mom's on the left, and another very good friend is on the right.  Aren't they adorable?

Ms. H has a small home that she shares with her furry companions.  Recently, the house caught fire.  The damage was extensive.  Thankfully, insurance took care of almost eveything.  Almost.  The home's one and only bathroom was left untouched.


It's in need of a top-top-bottom reno.  The "vintage" pink porcelain tile was probably swanky in its heyday but now it's falling off.

The tub and toilet will stay.  Everything else - tile, fixtures, vanity, light, linoleum floor, medicine cabinet, and yes, the shiny wallpaper all must go.


Dad and I took Ms. H to Home Depot last week to look around and try and narrow down some choices and pick a direction for the room to go.  I'm very happy with where we ended up after only one day of work, and as soon as we gather our supplies it's go time.
Ms. H will go stay with a friend while we're doing this, so it will not be a do-it-in-our-spare-time sort of event.  We need to rock and roll!  I'm very excited and a little nervous.

Dad's done bathrooms before - bigger than this one - by himself.  Tile, fixtures, all of it.  He's very skilled.

I am his apprentice.  I'm eager.  And I have designed bathrooms from the studs up in two homes that my husband and I have owned.  They turned out fabulously, and stayed mostly on budget, if I do say so myself, so I feel good about at least being able to contribute that way.

Right now, Ms. H is agreeable to doing a white subway tile with some decorative white accents around the shower.  I love it.  Subway tile can do no wrong in my book.  It goes with everything.  I think it will be a perfect choice for this home's one bath.

 For the floor, we're thinking these 6"x6" tiles will be perfect.  It's a small room, so keeping these tiles proportional will be good, and rather than doing a 12"x12" tile, these will give us more grout lines on the floor, which will help with traction.
Ms. H likes oil rubbed bronze fixtures (great taste, right?) so we'll go with that.

Beyond that, no decisions have been made.  We've got our work cut out for us but we are ready!

And last week, I got in touch with the awesome people at National Builder Supply.  They heard about Ms. H's story and have GENEROUSLY offered an item from their website to put in the bathroom!  A light fixture, maybe? A sink?  It's so good of them.  And I know Ms. H will appreciate it.  I'll let you know what gets chosen, and of course, I'll have pics once we start demo-ing this baby!  My fingers are itching, I will confess.


I spotted this room on Houzz.  Same layout as Ms. H's.  Nice right? (source below)

(source: Creative Eye Design + Build, via Houzz)
Pretty soon, I hope I'll be able to share just a lovely an "after" photo with you here!

XO,
Anne

Sunday, August 26, 2012

Go Big Blue

Yes, I live in Kentucky, but no, this post is not about basketball.
I just delivered (rather, my incredibly awesome parents delivered for me) the biggest piece I've done, to date.

This piece found me.  She yelled right at me from the parking lot at my favorite local non-profit thrift store.

No one else was even looking at her.


But I knew the minute I laid eyes on her, that she was coming home with me (saggy cardboard, spiders and all...)


She's no lightweight.

She boasted great storage, and with those detailed cabinet fronts, was just screaming (as Nicole, the heroine of HGTV's Rehab Addict puts it), "Make me pretty!"


My Dad helped me haul her into the house and reinforce her structure a little.

Dad, you rock, as usual.

Then she was all mine.

I put her on Facebook, and immediately got snatched up by a friend with bold taste, who was willing to take a risk and have me do this for her long distance.  She never saw it in person until it was delivered to her front door.  Is that a leap of faith, or what?!


This piece got two coats of primer, about 3 coats of paint (some places needed more touch-up, as getting paint in ALL those little curves, nooks, and crannies, took some time and patience) and Polycrylic to keep her looking great for years to come.


Here's what I love most about this piece:

I never would have chosen the colors the owner chose.  Just would not have happened.  The color - bold, bright, beautiful - made this dumpy relic into a Grande Dame.


She looks regal in her blue-purple*.  The owner also wanted paper lining the inside, and she chose sheets of peacock feathers.  Amazing.

There was a lesson for me at the end of the process.  I couldn't have been more pleased with how the piece turned out.  And it is what it is now, because the owner did something out of the ordinary.  She took a chance - and made me take a chance.  A major step out of my comfort zone.  And it resulted in a broader horizon for me.  So, thank you, Liz!  I envision many wonderful cocktail parties, and dinners with friends going on with this piece in the room.  And I hope it makes you smile each time you look at it.  I know I did.

Here's the materials I used:

Primer - Zinsser Bulls Eye Water-Base Primer & Sealer

*Paint - Crushed Velvet in flat finish by Olympic at Lowe's (this color is reading as way more purple in these pics. It is more blue in person.)

Top coat - Polycrylic Satin finish by Minwax

Hardware - sprayed with flat black then finished with Valspar silver spray paint, also at Lowe's (also coated with Polycrylic for durability)

Paper - Recollections scrapbook paper, called Peacock Feathers, sold by the sheet at Michael's


So the next time you're out thrifting or yard saling, and a big old honkin' piece yells at you, LISTEN!  And try something bold and different.

Thanks for reading!
XO,
Anne

craftionary

Linking up here:


mop it up mondays