Once upon a time I asked some of my Facebook peeps if they'd like to have a post on what I'd buy on Craigslist done in their cities. To my utter shock, people jumped at the offer!
So better late than never, per the request of Heather from Queen of Everything, we are off to the Dallas/Fort Worth area!
1. If you're in the market for a piece to reupholster, but you kind of, well, don't really know what you're doing yet, you need a guinea pig piece. I nominate this one.

Adorable, right? And ten bucks! Get a good staple gun, some cute fabric, and get ready to YouTube your brains out.

You can SO do this. And, as a bonus, I also nominate this cute ottoman/footstool to become your new chair's partner in crime.

And since you asked so nicely, here's my pick for a fabric to upholster them both:

If that doesn't scream "Spring!" I don't know what does. Happy dance!
2. I've never picked a quilt rack before, but this has a few things going for it.

It's got very pretty legs, known as "barley twist" which is something I'd never heard of before Heather said she liked that style of furniture. You've got expensive taste, girl, because everything I found that was called "barley twist" had several zeros behind the list price! This little gal is only $45, and would make a charming addition to a guest room or family room. It's been painted a bright white, and looks like it's lightly distressed. Hope you like it, Heather!
3. What a great deal on a bright chair! It could be the fact that I'm plotting a redo of my guest room in red and white, and this chair would be perfect, but I just think this is so cute!

It's currently on the Pier1 website for $80, so this, my friends, is a true steal!
Put it in your entry (like this one) for an instant pick-me-up.

4. Maybe you have an old light fixture you want to switch out. I think this wicker pendant is adorable, and they are everywhere right now.

Remodelista compared some higher and lower end lights, but even the "steals" out there are no match for the $20 price tag on the Craigslist find! I love the idea of hanging it over the living area like this.

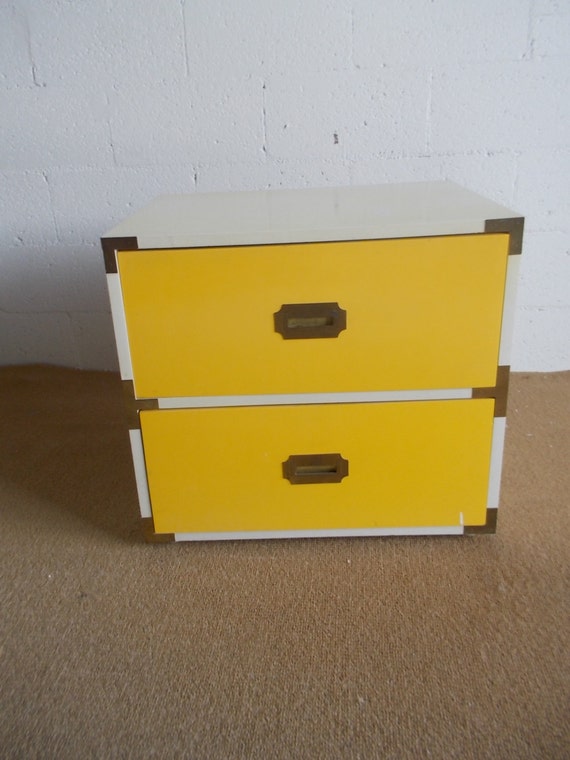
5. I don't yet own any campaign-style furniture, but I sure would love to, one day. And if you would, too, then I suggest scooping up this coffee table for $20.

You can clean it up, and use it as-is. It comes with a glass top, too, which is super nice and prevents you from worrying about spills, etc.
And, you'll get the look of this coffee table, which retails for almost $3000. Yes, there are three zeros in that price tag.

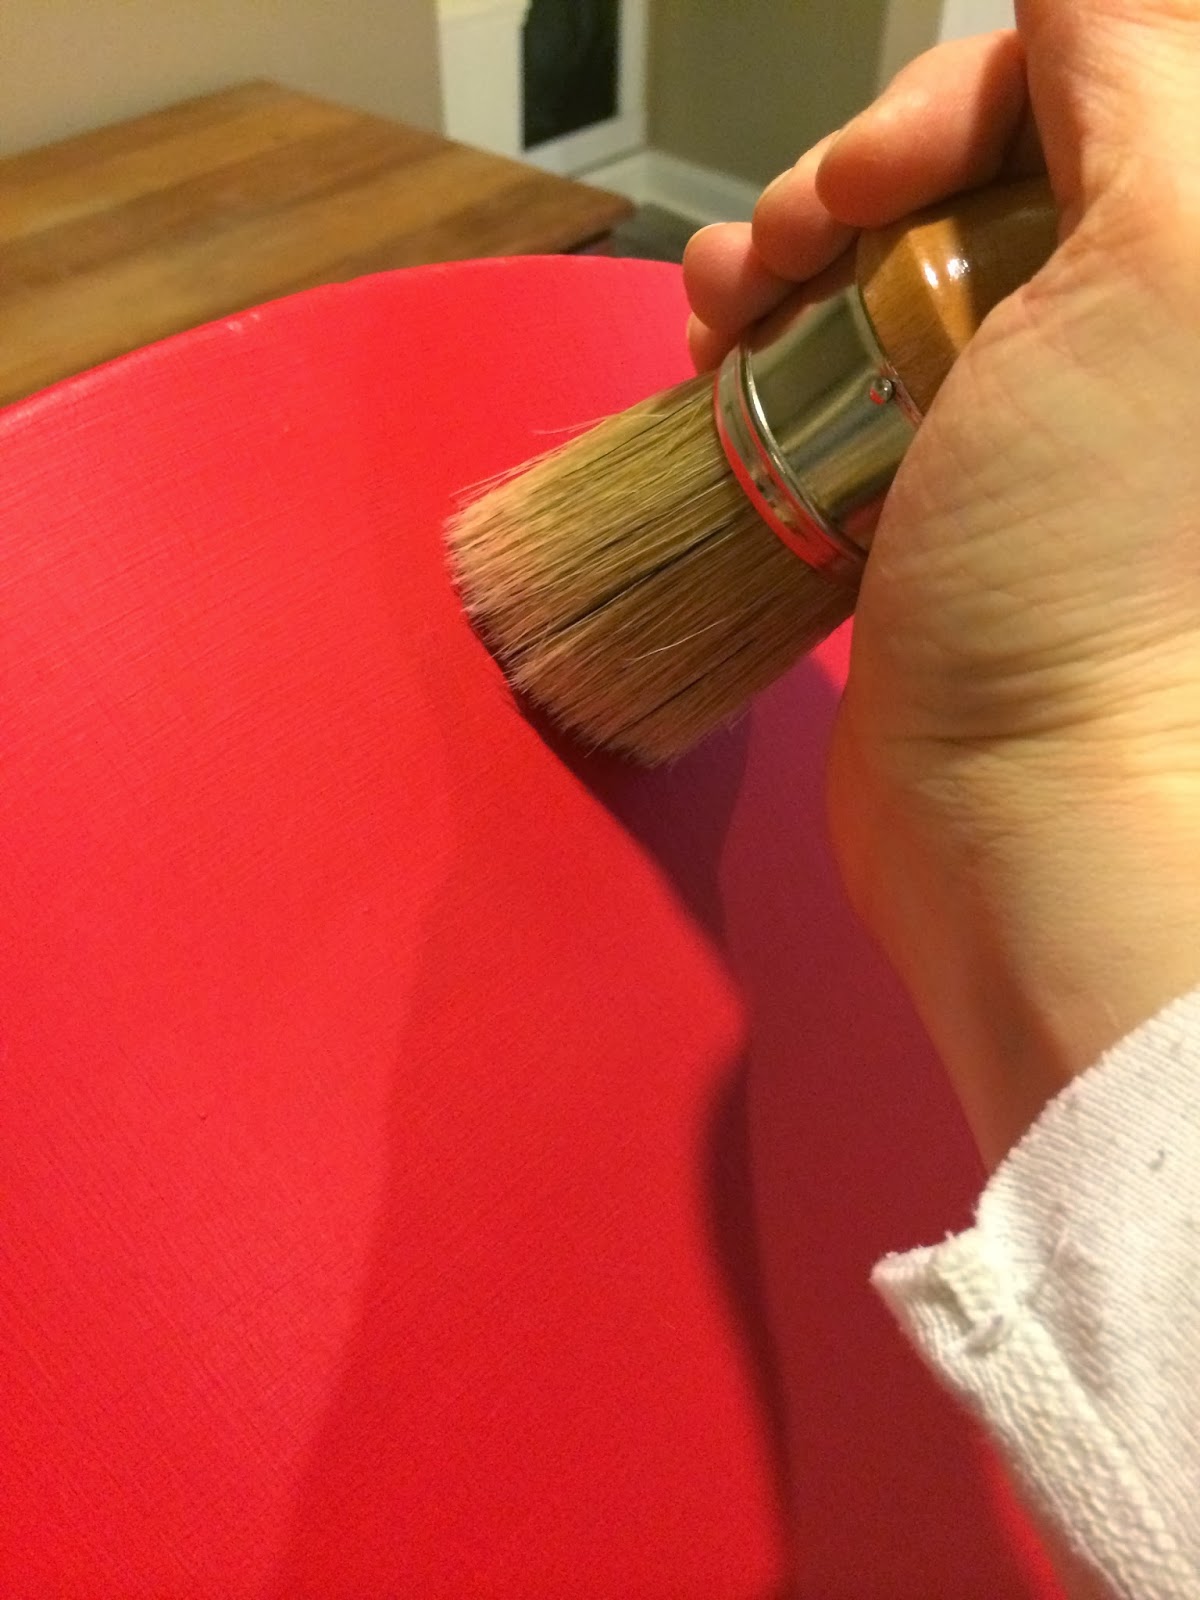
Or you could paint it a bright color, in a lacquer finish, and have a showstopper.

Painted campaign furniture can be such a stunner.
I love the pops of brass against the colors.
So there you have it. My picks for you crafty, thrifty, awesome Texans out there. And here's the disclaimer I always feel the need to include in my Craigslist posts. I've been buying and selling from Craigslist for years. I have yet to have a problem. I always use my common sense. Take a friend or relative with you (especially the large, male type if you have one.) If a piece is small enough, you can ask to meet in a public spot, like a well-lit grocery store parking lot. Be careful. Be safe. And have fun.
Hope you've enjoyed this!
If you would like to see more of these kinds of posts, you can catch me at these spots:
XO,
Anne