Grout for the subway tiled tub/shower went up on our little bathroom project, and by little, I mean the biggest thing Dad, Keith and I have ever tackled. :-)
We used a white, unsanded grout. And wow, what a difference it makes!! If you look at this first picture, you can see where the grout has been applied to the upper left hand corner.
You can also see the beadboard went up all around the room. It comes in 4x8 foot sheets for $20.
We cut it so that it ran 4 feet high, put Liquid Nails on the back, and then nailed it for real into the studs. WHAT an improvement!
A standard chair rail tops it off. Make sure it's level. Liquid Nails on back. Nail it in.
I also primed the cabinets for the recessed shelves/built-ins.
Don't forget to go back and sand once your primer is on. Mucho important. It will give you the nice, smooth finish you want.
Once they were primed, and had a few coats of paint on them (Behr Ultra White out of the can), it was time to hang them. The were screwed into studs and into pieces in the back that my Dad and Keith put in. These puppies aren't going anywhere!
You can see in the back where the shower head also got installed. Yay! It's Moen the Caldwell line.
We chose a piece of door/window trim to put around the mirror and shelves. It was mitered on the ends and fit together really nicely. I think it makes the whole thing look more cohesive and "done".
Once the shelves were in and the beadboard, chair rail, trim, and baseboards were in, it was time to spackle nail holes, any spots in the wall that still looked lumpy, recessed, or just not flat. It goes on pink and when it's white, you know it's dry.
After the spackle was dried, we gave it good sanding, wiped it down and it was time to caulk! (I will admit, I LOVE caulk. It's like magic. It can hide a multitude of "sins" or just areas that aren't perfect, and if you have ever owned an older house, you are one of the members of the "nothing here is 90 degrees club." :-)
I am behind on my posts - next up is the new light fixture from our sweet friends at National Builder Supply, paint and finishing details, including a brand spankin new shower curtain from the great people at JCPenney (which I am secretly plotting to buy myself and put in my own bathroom). WOOO HOOOOO!!!!!
XO,
Anne
Showing posts with label wainscoting. Show all posts
Tuesday, October 1, 2013
Monday, September 16, 2013
Subway tile, the toilet is back, and the best. tile. saw. ever.
It's week FOUR, people, and things are hoppin' in this bathroom.
Did I already mention that the toilet got re-installed? Woo hoo! No more potty trips to the gas station for us. :-)
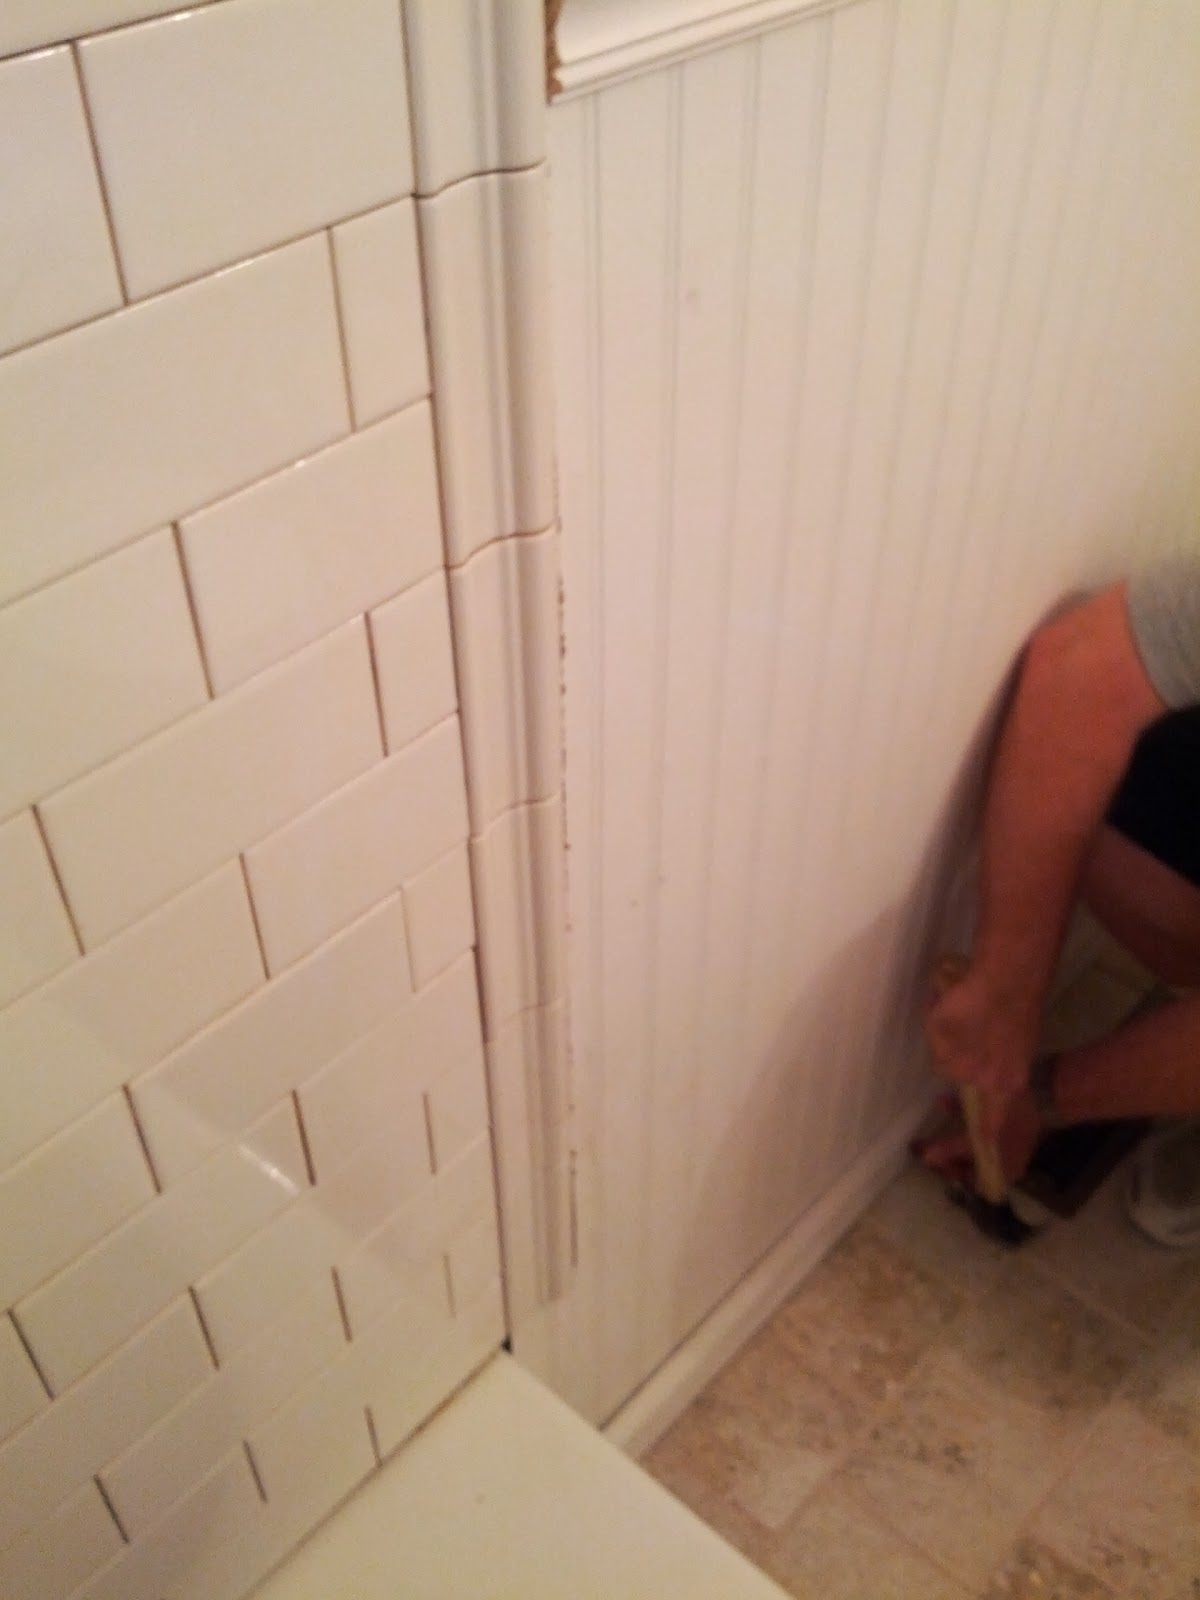
Besides that, we the last week putting up subway tile - and some coordinating white trim tile - from the tub all the way up to the ceiling. It was my choice to run it all the way up. It was a little extra work, but I don't regret it one bit.
Getting the first, bottom row of tile straight was probably the most stressful part. Shims - those little wood sticks - are crucial. They kept the tiles from sliding down while the mortar was setting. We used chalk lines and levels and our eyeballs to make sure nothing got out of line in that first row.
I chose subway tile for this bathroom for several reasons. It is a great price performer. Looks polished, fresh, and classic. It is the Little White Dress of kitchens and bathrooms as far as I am concerned. I've used it before in two of my houses, and I'd use it again in a heartbeat. White subway tile can do no wrong in my book. When in doubt, use white subway tile.
These tiles were self-spacing, which just means they had slight ridges on the edges that save you from having to use spacers. Just put your mortar on the back, and press it on the wall. Slick it and stick it, as I like to say. (Make sure it's level, of course.)
Now it's time for me to introduce you to my new bestie. RIDGID's 8 inch wet tile and paver saw and stand, which you can find at the Home Depot.
This thing rocks. The tiles that needed to be cut for this bathroom were probably a couple hundred, including floor and walls. Using an inferior machine to do that, or trying to rush because we had rented one would not have been fun.
The folks at RIDGID and the Home Depot supplied us with this saw, and I'm not sure I can adequately express how grateful we were to have it. We wanted to do something good to help out our friend (she needed a new bathroom, badly in case you missed it.) And RIDGID and the Home Depot decided to do something to help us (we needed a tile saw, badly.) This is a win-win.So...We marked where the tile needed to be cut.
Before turning the saw on, we lined the piece up with the blade to make sure it would be correct, and then we turned it on, lowered the blade, and smooth as silk, this thing took care of it.
Effortless, really. I feel completely comfortable using this by myself, and am thrilled with the results. And my Dad? Let's just say he petted the box when it arrived. LOL... what a fantastic tool to have in our "tool box" to pull off this job! Thank you RIDGID and Home Depot!
It truly is one tile at a time, but it does move along pretty quickly - especially if you have several people - who can be measuring each space where a cut tile needs to go, making the cuts, putting mortar on the tiles, setting them into place, and making sure they stay where they need to be without any slipping.
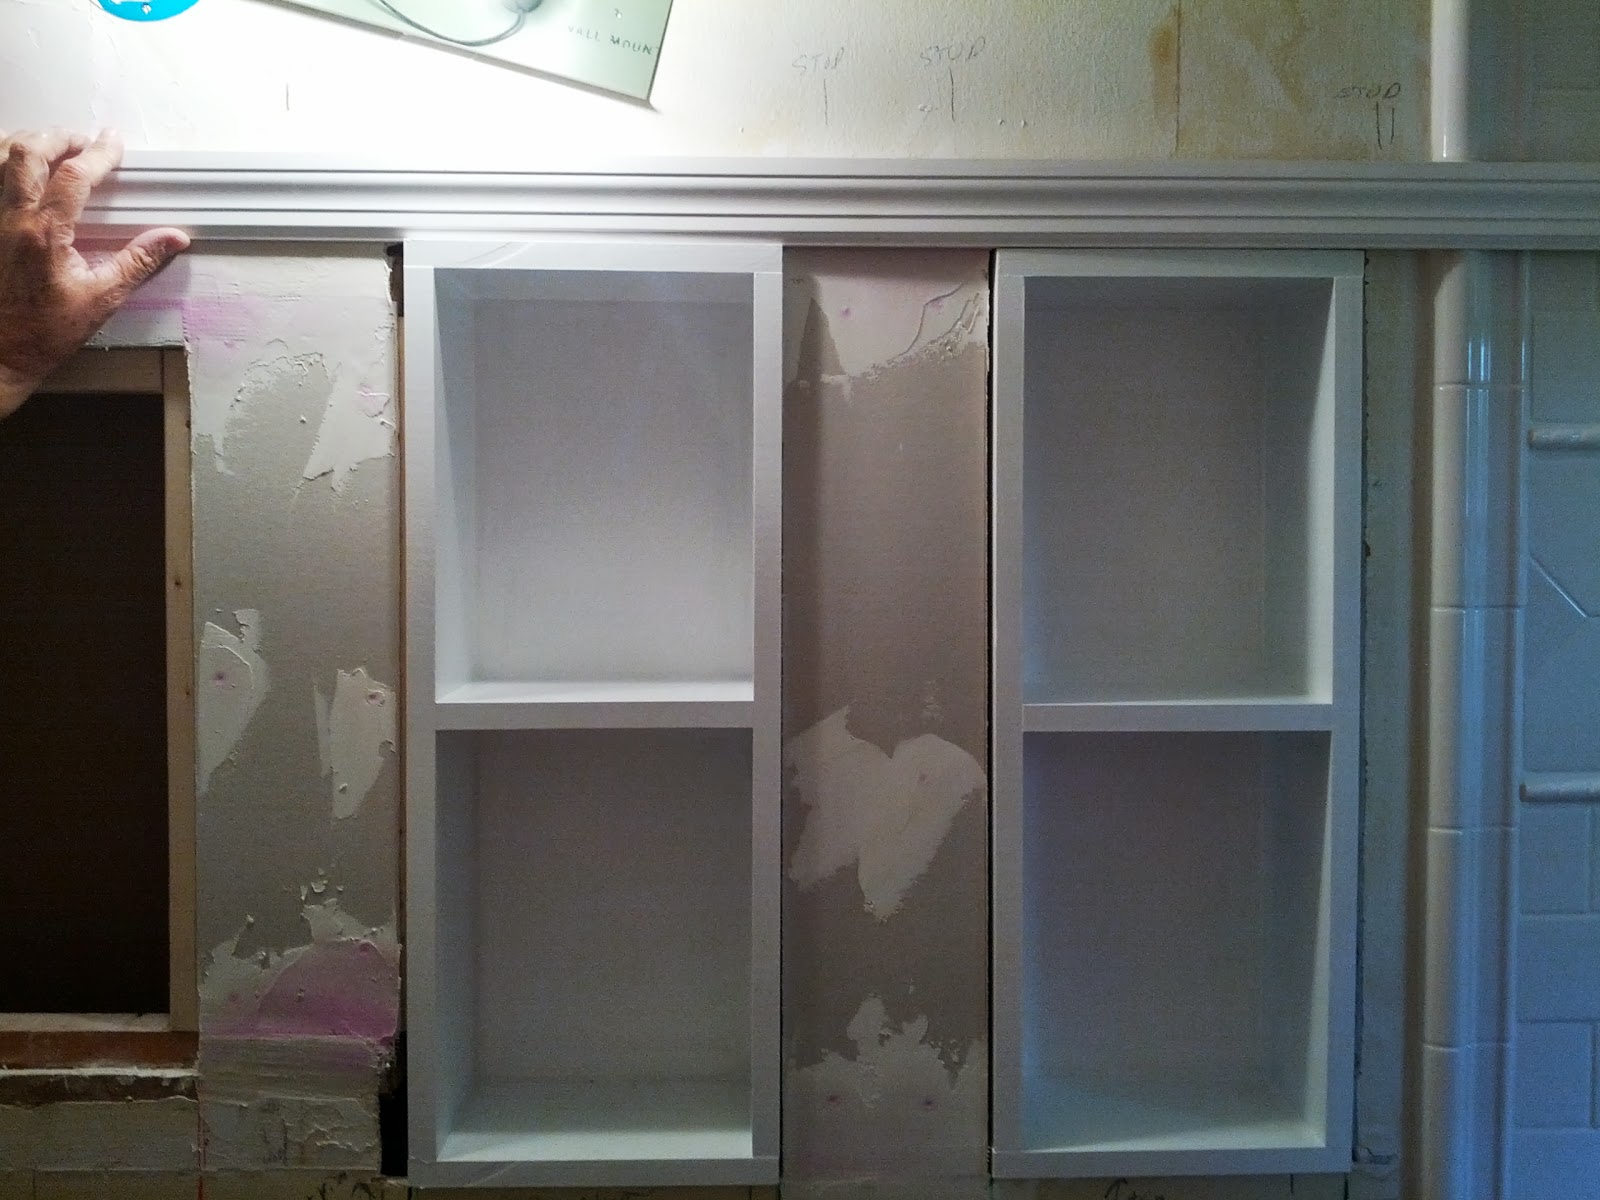
The accent tile comes in a pre-cut set of four pieces, and we added a plain 4 inch white square to the center. The rope trim is sold a single piece at a time. All the tile came from the Home Depot.
Tiling this standard size tub all the way to the ceiling took us five solid days. That's two or three people working 5-7 hours per day. It's work. But it is so do-able. And the payoff is big. You know that advice that you should hang your window treatments as high up as possible to make a room feel larger? I believe it worked here with tile, too.
A clean, white, unbroken space. I'm thrilled!
SO here's my take-away. If you have the ability to take accurate measurements, the patience to mix mortar and grout to the consistencies necessary for spreading, the attention to detail to make sure your pieces are level and straight, and the willingness to learn how to operate a good piece of machinery safely, then I say taking on a tile project is a MUST-DO. It adds value to your home, and it will make you smile every time you walk into the room!
Next post, grout and beadboard!
XO,
Anne (and Ken and Keith)
Labels:
bathroom,
beadboard,
built-ins,
design,
DIY,
grout,
home,
Home Depot,
house,
paneling,
reno,
RIDGID,
subway tile,
tile,
tile saw,
wainscoting
Thursday, September 12, 2013
My first tiled floor and building a built-in
We are into our third week of the Bathroom Reno and things are moving right along.
Dad, Keith and I spent a few days working on installing the tile for the floor. I picked a 6"x6" tile and the homeowner, Ms. H. agreed. Going smaller than a 12"x12" tile means more grout on the floor, which means better traction overall.
This is the tile, from Home Depot. We needed 34 square feet. It took several hours to lay it all down. We laid them in a staggered pattern, to echo the subway tile that will be going in the shower.
We ran them in straight lines, the length of the floor. I think visually it helps make the space seem a bit larger.
I chose Bone colored sanded grout, also from Home Depot.
Love, love, love how it turned out!! Blends extremely well and the color will help hide some stains, cat hair, etc.
We let it set overnight and it's good to go the next morning. Woo hoo!!
Then Dad and I set out to create the cabinets that would become the built-in, recessed shelves. Dad did all the measurements to make sure they would fit into the space available, and taking into account the thickness of the poplar wood we used, made sure we would get as much storage space as possible.
I had to wear my sunglasses because we were cutting these in Dad's basement and left all the safety goggles at the job site :-)
We used Dad's table saw, and under his supervision, I learned how to make good cuts, counter-sink screws to hold the pieces together, and they turned out beautifully! We set them in the wall just to make sure they fit. They do! We'll wait until we move the old light fixture to secure them in the wall but it was great to see them in even temporarily!
The space right below the shelves is where the toilet goes. Once we are ready to install them, we'll prime and them paint them the same white as the beadboard and other trim in the bathroom. I cannot wait to see it all finished!!
Next up was to install a piece of beadboard paneling where the toilet will go, so we can re-install the toilet and turn the water back on. We've also chosen trim for around the built-in, and a chair rail to top the beadboard.
Tired yet? ;-)
I am.
Thank you so much for reading!
Next post... you'll meet my new BFF. Big, strong, reliable, and hard-working. It's a tile saw from the great people at RIDGID and the Home Depot and boy, are we ever grateful.
:-)
XO,
Anne
Subscribe to:
Posts (Atom)