Showing posts with label Ryobi. Show all posts

Wednesday, October 23, 2013

DIY Holiday card display from a cabinet door


Hi friends!

It's about that time...we are getting ready for Halloween right now, but before you know it, it will be the holidays and with them will bring all the yearly greetings my family looks forward to so much!

We love seeing all the smiling faces in our mailbox every day.
But I have always struggled with a way to put some of those beautiful cards on display.

This year, I have made something I love, and I'm going to share it with you :-)

It involves supplies from three of my favorite places to shop - the Habitat for Humanity ReStore (or whatever similar place exists near you), the dollar spot at the craft store, and the home improvement store!

The ReStore near me was selling these cabinet doors for $1.00

I should have bought them all!
If you decide you want to make this project, I'd just call ahead to the place you're planning on going. Often times cabinet doors like these are in supply, but typically stock changes, so I'd call first. (That's another reason to start now, in case it takes a few weeks to find the right door.)

Then I hit the dollar section at the Michaels. They had a variety of pretty wood holiday themed words, again, for a $1.00! 

At the home improvement store (or possibly the dollar store depending on what they carry near you) you'll want to pick up clothespins,  twine, wood or craft glue, some screw-in eyes, and a hanger to attach to the back of the cabinet.  Other supplies/tools I used included a pair of pliers and my Ryobi drill, to create a pilot hole for the eyes we'll screw into the front.

Think about your home and your holiday decor and you can make this look coordinate - paint it, distress it, Mod Podge some pretty paper on the inside panel.  The sky is the limit.
I sanded my edges a little bit, and left it alone.


I cleaned my door with some plain white vinegar - a good natural degreaser.

I grabbed some of our old Christmas cards, that are 5x7 - that seems to be the largest size we typically receive. The cabinet door I bought is roughly 17" wide by 23" long.  I laid out the cards the way I liked (don't stress over this - it's a holiday card display, not going in the Smithsonian. :-) and marked the spots where I wanted the eyes to go with a pencil.

The top two were about 5" from the top of the cabinet.

Drill your pilot holes (they should be slightly smaller than the actual eye you'll screw into them) and using the pliers, twist the eyes into place. You'll want to leave room above the place where the eyes are placed, because the tops of the clothespins will stick out above that.

Mark the next spot where you want the lower row of cards to hang. Drill your pilot holes and screw in the eyes again.

Smile - this is SO easy!

Get your twine. Tie a double knot around the eye. Thread the twine through the other eye and pull it as tight as you can. Double knot. Trim.
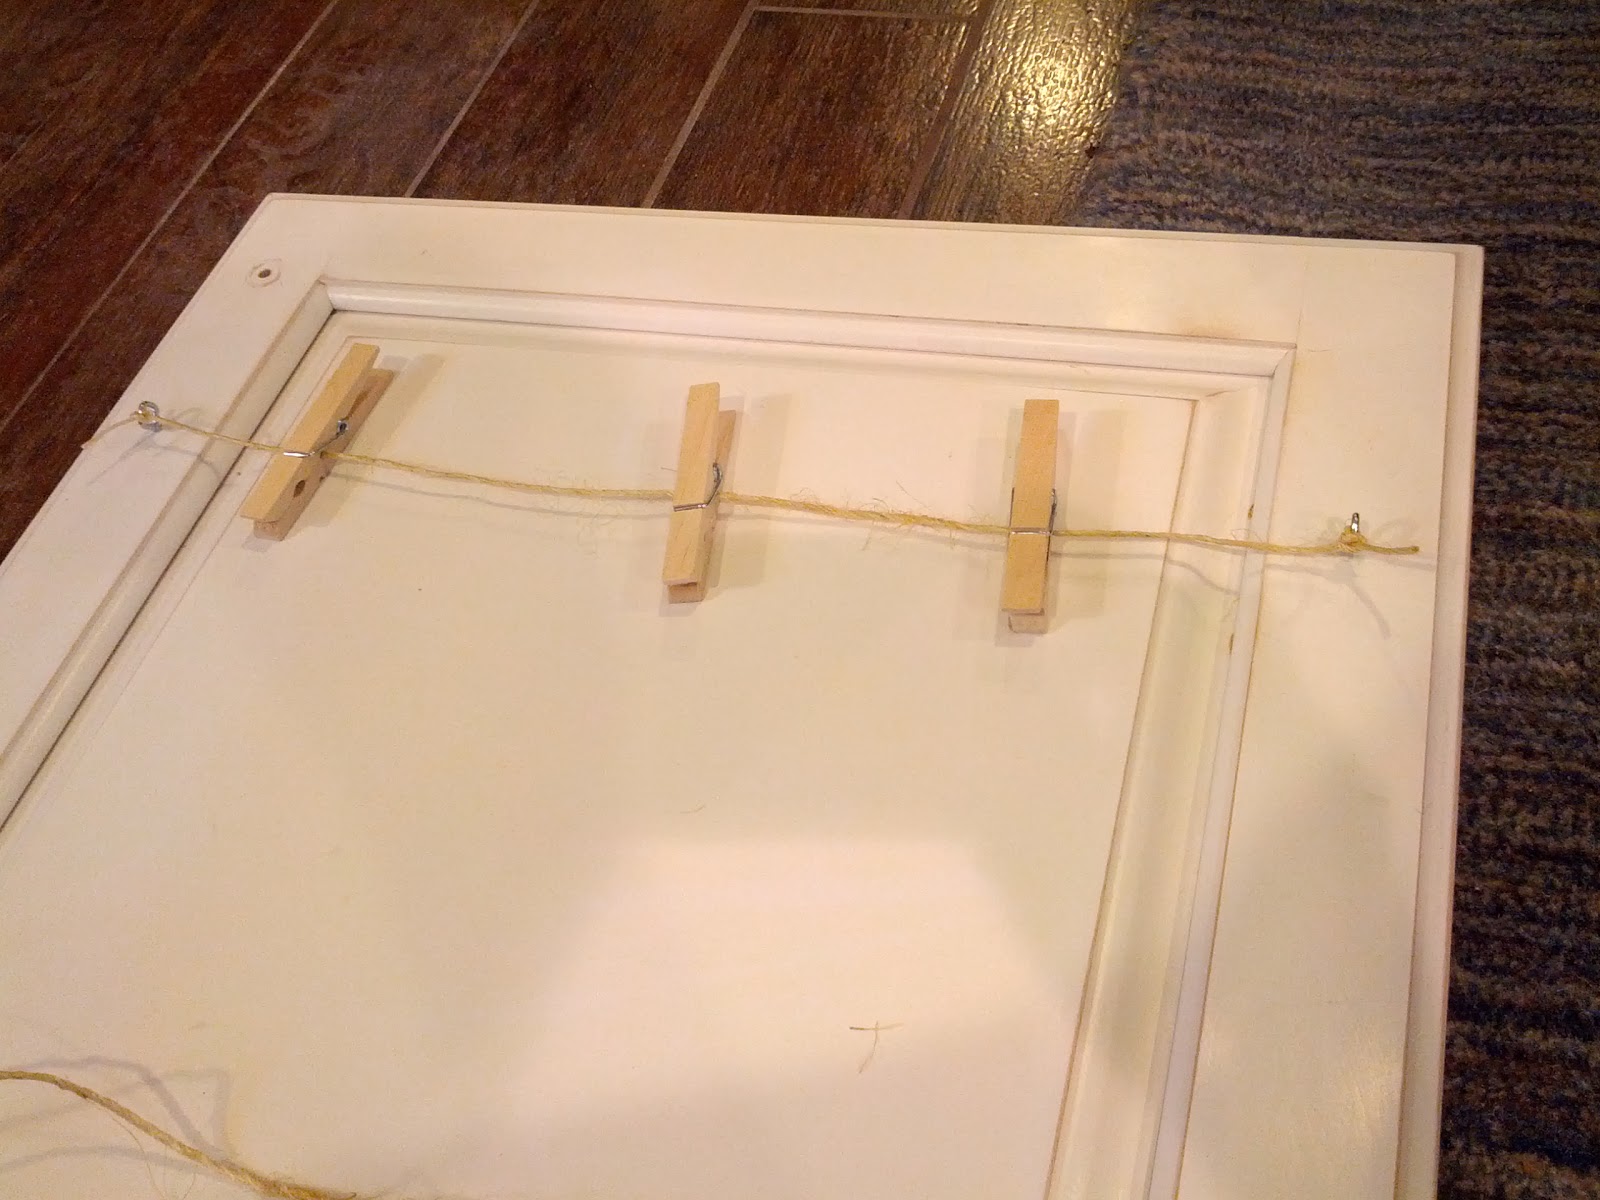
Repeat with the next set of eyes.

I grabbed my wood holiday word from the craft store,

and used some wood glue to add it on the top.


Add some hanging hardware to the back and find a special spot in your home for this.

I can't wait to start getting those holiday smiles in the mail because now I have a smile-worthy (and ridiculously inexpensive) place to show them off.

I'd love to see if you make a display door for your family.


Happy early holidays!!

Anne

Tuesday, August 27, 2013

Day 2 - Problem Solving, Pipe Cutting, and Plumbing Lessons

I will just go ahead and put it out there.  I got further into the DIY world than I had planned today.
My Dad had me cutting pipes in Ms. H's bathroom so we could put in the new ones for the tub/shower faucet.

I learned about soldering pipes (something I never would have the guts to try on my own.  Luckily my Dad has done this before so I watched him and learned.


This pic below is a pipe cutter.  I've never used one before.  It has a circular blade like a can opener and it clamps onto the pipe, and each time you turn the whole thing around the pipe, you turn the knob, tightening the blade, and you keep that up, tightening and turning around until the pipe is cut through.

Then Dad cleaned it with a metal brush, inside and out.
 Next he asked me to brush some of this cream on the parts of the pipes that needed to be soldered.


 And then - the part that really freaked me out.   The blowtorch-thing that heated up the soldering metal and melted it at the spot where we needed them joined.  The soldering metal seeped into the teeny space between the pipes, then once it cooled, if all had been done right, the joint would not leak.

 And onto the next cut.

Dad made me cut the old pipes.  This went against everything in my body!  But cut I did.


Now, about that built-in dilemma?  If you missed it, you can read about the pipe in the wall that surprised us, here.

The bottom line is I wanted to put some recessed, built-in shelves in the wall above the toilet. But a vent pipe was right smack in the middle of the wall.

I'm sure for some amount of time and money we could move it.  But that's not in the cards for us.  So, we have to work around it.

I sketched out what I'm thinking about.  I hope it translates here...Starting from left to right:
The mirror/medicine cabinet would be recessed. Then we would add a piece of drywall or wood trim, flush with the wall, about 4 inches wide.  Then a set of recessed shelves, about 10 inches wide.  Next another piece of drywall or wood flush with the wall, then the last set of recessed shelves.
The whole thing would be the same height and would be trimmed out together so it would look cohesive. You with me?


Basically, I added the first piece of trim, between the mirror/medicine cabinet so that when we put the piece of trim to cover up the pipe, the built-in as a whole would look symmetrical and not like there was a random piece of trim stuck in there.

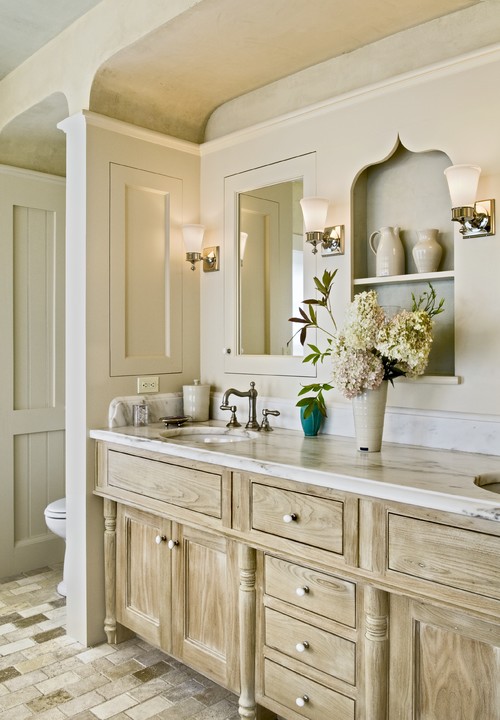
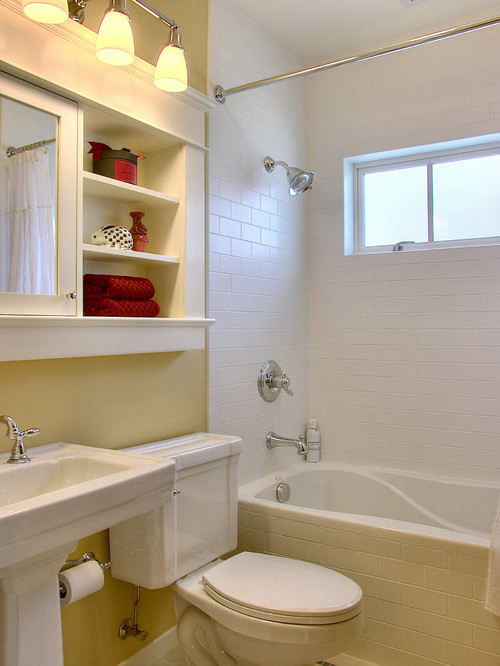
Kind of like this but without the sconces, and another set of shelves to the right:
Traditional Bathroom by Norwich Architects & Designers Smith & Vansant Architects PC

Besides all that, the toilet got hauled out today.  And yes, they are laughing at me for constantly taking pictures.  :-)

So along with a lot of plumbing work, here's how the day wrapped up.


Til tomorrow,
Anne

Bathroom Reno - It's Demo Day!

Bathroom Reno
Day One
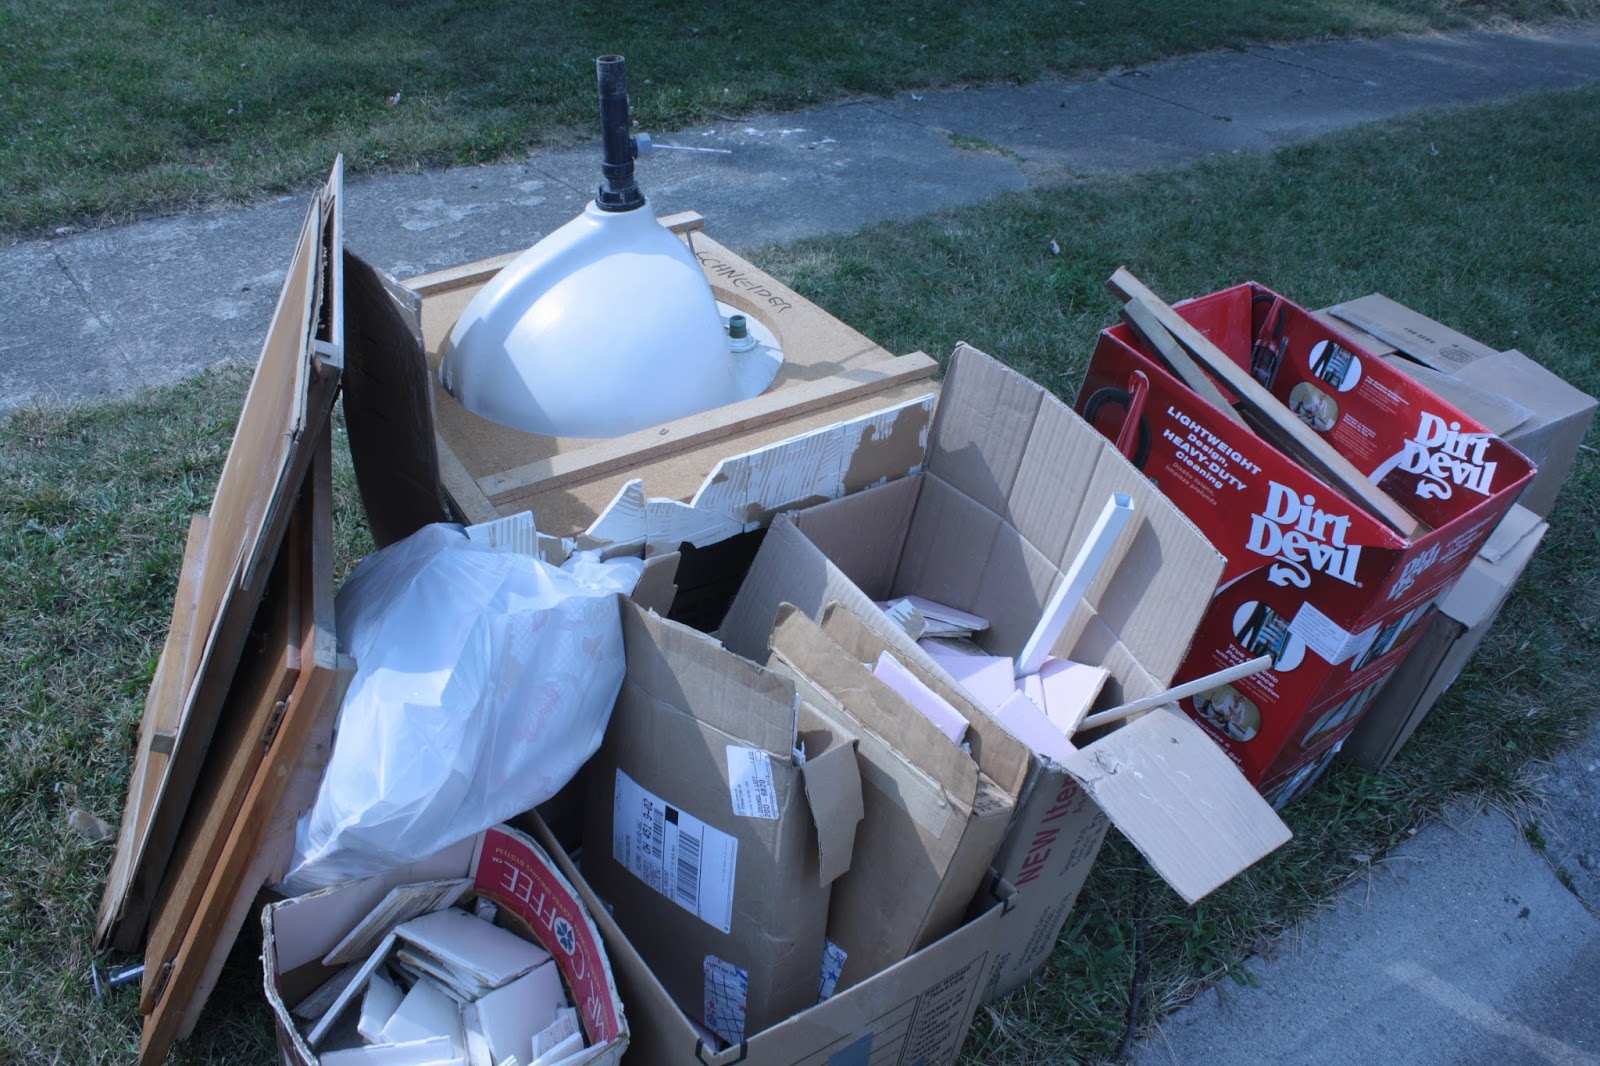
There are at least five boxes of pink and beige tile on the curb outside Ms. H's house tonight.  As well as a dismantled vanity, the old sink and faucet, medicine cabinet, and three boxes of ripped out drywall.

We got tons done today.  But as with pretty much any major reno, there were some hiccups.


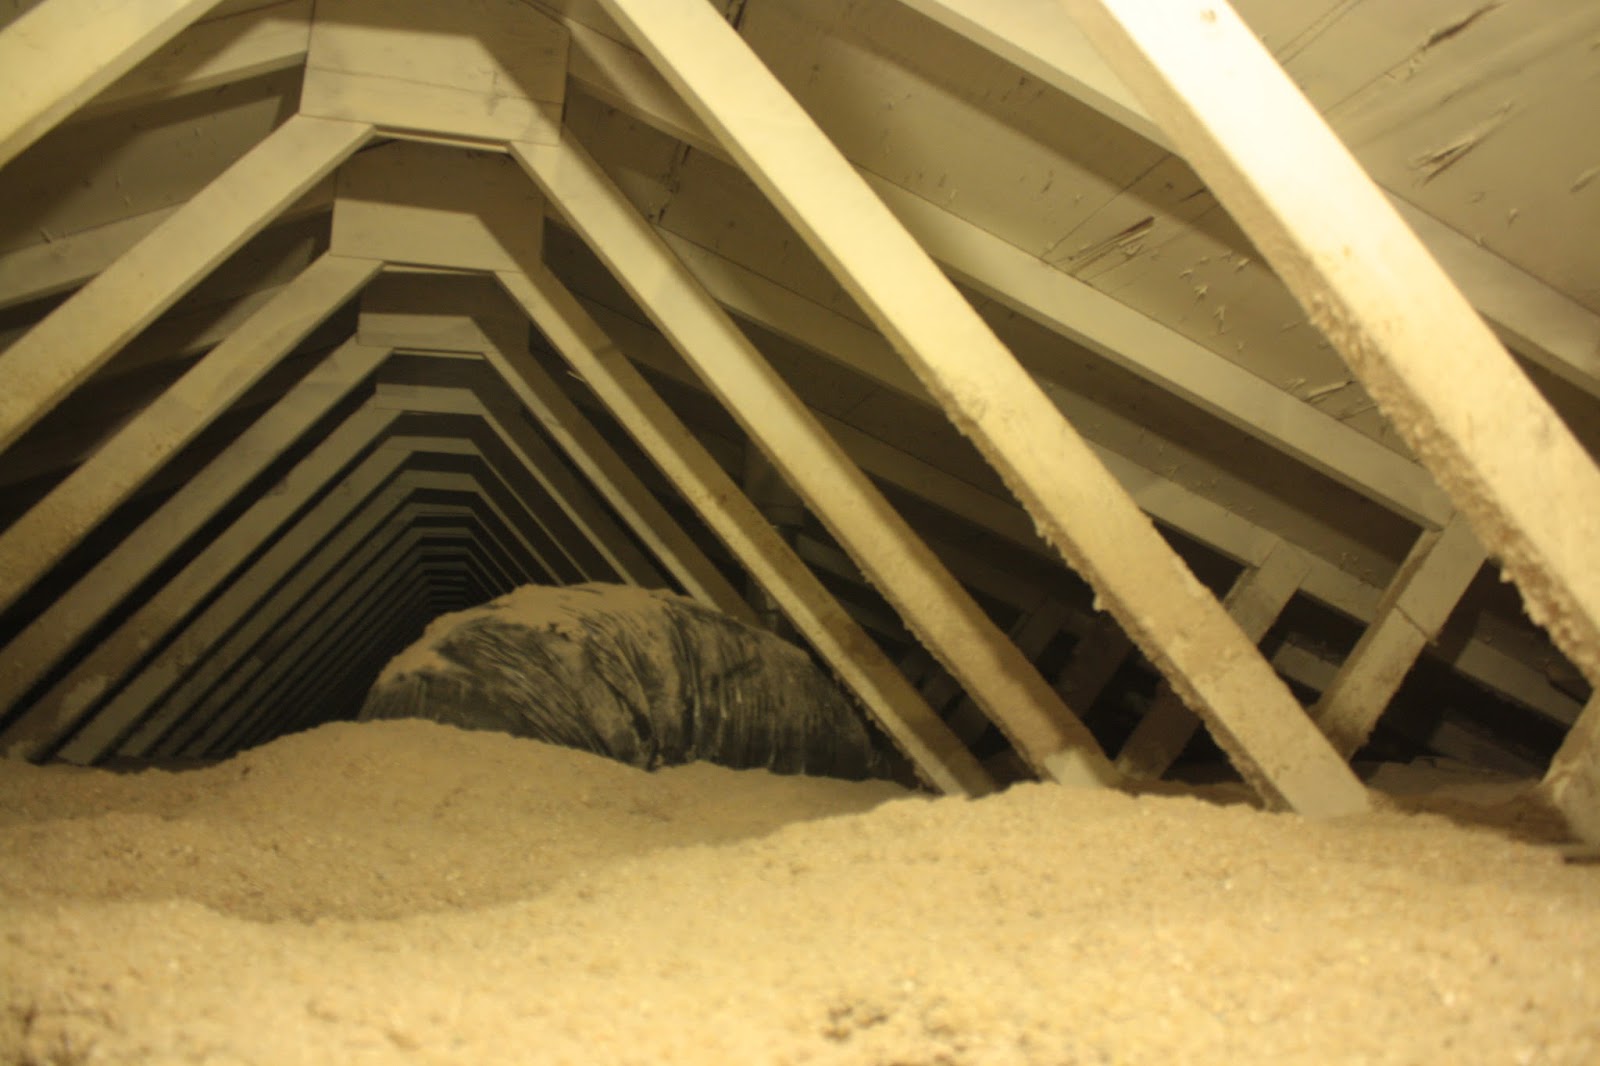
First, we had planned on adding a new overhead light/vent combo.  Dad and I looked up in the attic, and upon further examination, realized that was going to be quite a bit more complex than we had planned. 


There is a large HVAC duct in the way, and the bathroom vent would need to be run outside.  The roof is quite low near the edge of the house, making the space we'd have to work in pretty small.  
We were bummed.  After deliberation, we reluctantly decided that was probably biting off more than we could chew.  
So on we went with demo.  Here's one last look at it, it all its pink tiled glory. 


Demo went relatively quickly.  But there were only a few fixtures and screws that required me to use my awesome new Ryobi drill.   Don't worry... I'll find more excuses to use you, my little friend. :-)

I was feeling generous and even let my Dad borrow my new toy.


Ms. H got in on the action, too...buh bye wallpaper!


We also ran into a hiccup where we planned to put built-in shelves over the toilet.  

But once we removed the medicine cabinet, we could see behind the drywall, and found that there's a plumbing vent running all the way up the wall right smack in the middle of where we were planning on having a nice big built-in.

Darn.

It was about lunch time when we found this.  My brain was sorely under-caffeinated at that point.  Time to refuel and re-evaluate.
This is where it would be pretty easy to get frustrated.  But that's par for the course on jobs like this.  You have to be able to adapt.
I have a plan to work around it, I think.  Can you guess what it is?

Anne