


If you missed the earlier posts, this is what we started with:


And here's your first *tip*: If you're cutting a large board like this, lay 2x4's underneath the board, on top of your sawhorses. Then, cut right down the middle of them and you won't accidentally cut anything underneath. - My Dad says to help support the weight of a large board while it's being cut, he would also sometimes put another layer of 2x4's across the first layer. Think Lincoln Logs...


Here's your second *tip*: If you have to add reinforcements to existing studs, err on the side of cutting the support piece a smidge too big rather than a smidge too small.

I was worried I'd cut it too big at first, but my Dad encouraged me to pound it in place. Man, it was snug. Dad said, it's better that it be a snug fit than too small - because then you end up having to brace it, or start all over with another piece of wood.

And here's our hole where the old medicine cabinet was.


Cement board nearly done on the shower, we attacked the floor.


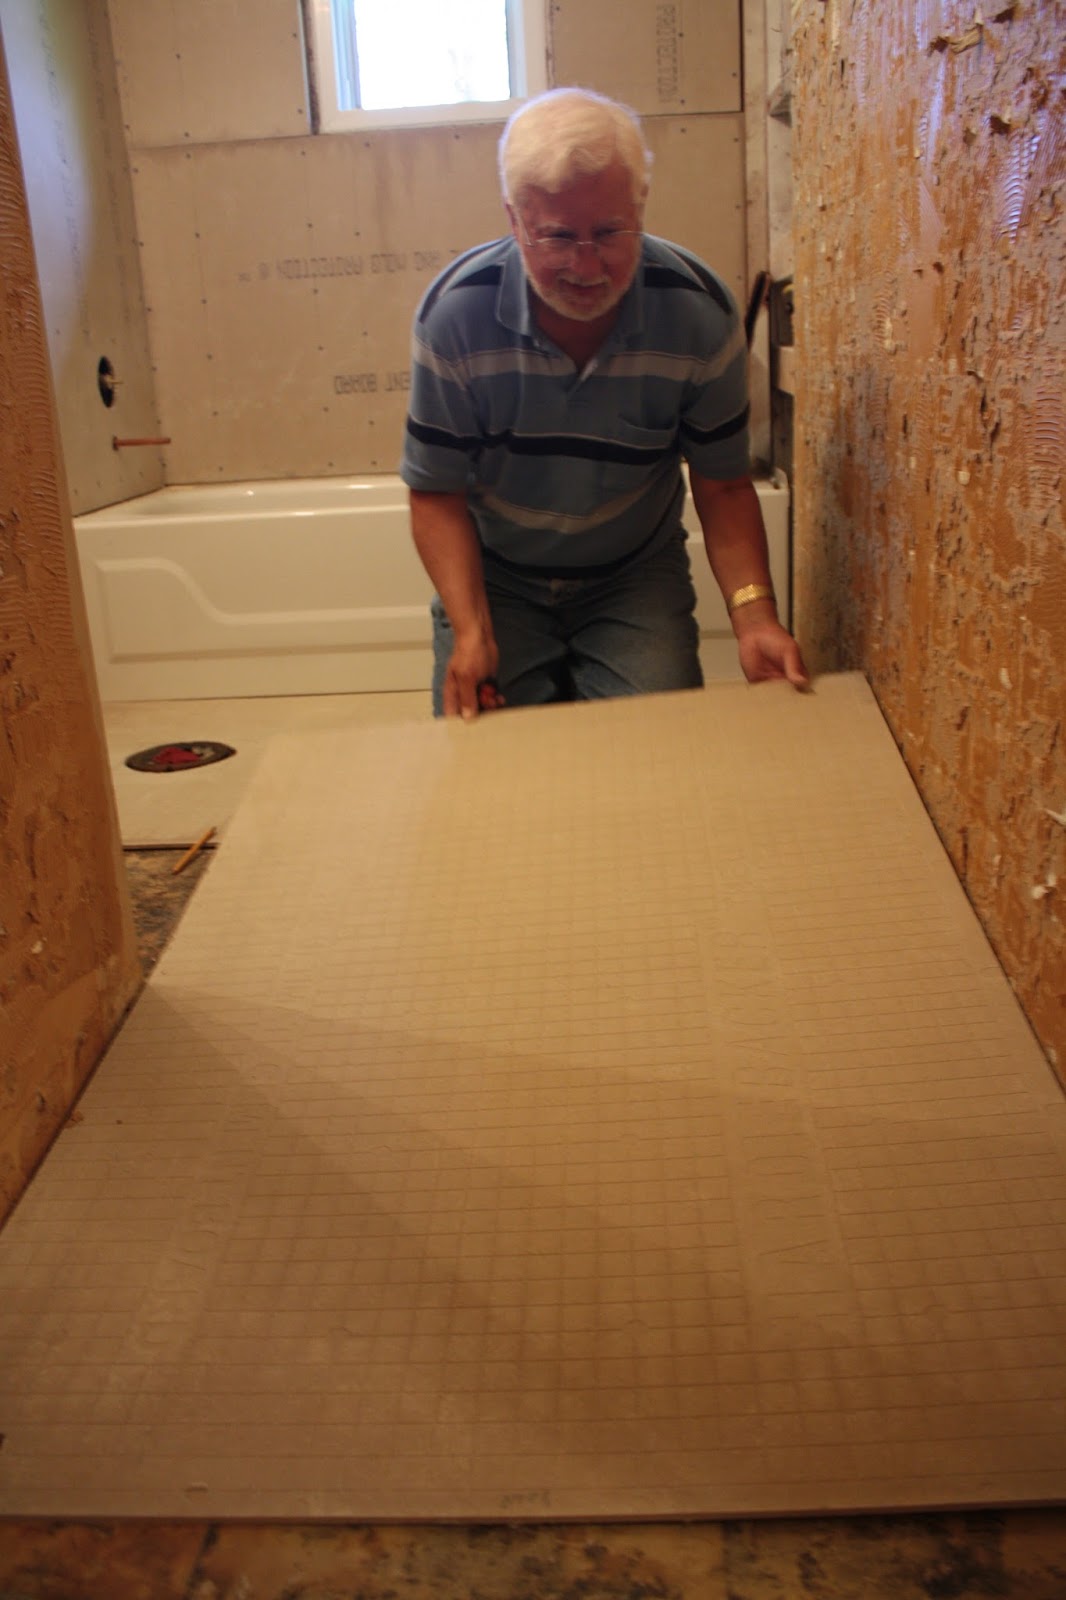


Before we went and mixed up the mortar for the new subfloor pieces, we grabbed the vent cover and made sure it fit :-) Not that this has ever happened to my Dad before... he may in fact just be that smart.


Then I strapped on my knee pads and learned how to spread mortar on the floor. A lot like icing a cake. The pieces went into place perfectly and now we have a fantastic new subfloor that will ensure the new tile floor we lay will last.
This picture is somewhere.......
Next up is to frame in the recessed shelving above the toilet. Since that wall is where all the plumbing in the room is (contractors might call it a wet wall), there is extra space in between the wall in the bath and the room on the other side of the studs. If you can, TAKE ADVANTAGE of this space! It is prime real estate! You too, may have spaces, all covered up and unused that could be put to work in your own home. It may not seem like a big deal, to have a few square feet to tuck away small items. But in a bath like this - the only bath in this home - every inch needs to be maximized.
Again, here is what we're sort of going for:
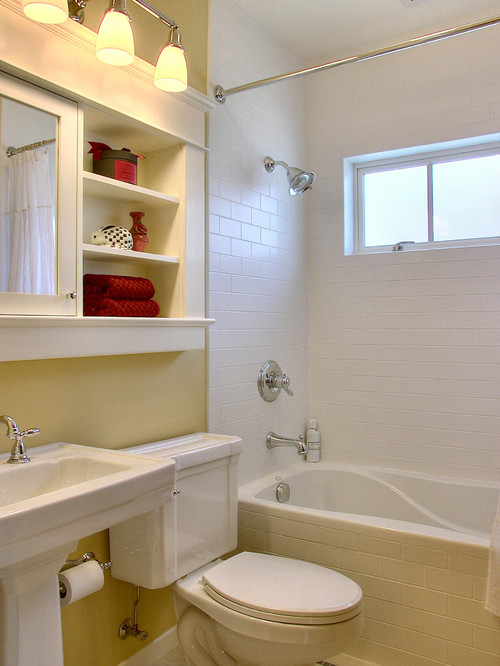
We picked up the mirrored medicine cabinet at Home Depot, a frameless, beveled mirror that will be recessed into the "wet" wall above the sink. Keith held it up so Ms. H would be sure to sign off on the height where it's placed.

Two sets of shelves will be built in to the right of that.
This is not the first built-in I've planned in a home. But it will be the first one I help build and execute myself - and for someone else's home. So a little nerve-wracking. But mostly just exciting!
Yes, Ms. H could put a storage tower back over the toilet, and it would work fine. But, if all goes as planned, we'll add some quality storage - and a bit of character and architecture - to this small room.
That's an investment I can get behind!
In case I haven't convinced you yet that I'm obsessed with built-ins, here's my Pinterest board to
Thank you so much for reading!!
XO,
Anne
I am so impressed! I love the inspiration picture for this room, can't wait to see the finished product!
ReplyDeleteThanks Elizabeth! A lot of this stuff is so do-able. It really is a matter of calculations, time and attention to detail. Thank you for reading!
ReplyDeleteOh wow, a handy family! It's really convenient to have family members that know how to do repairs around the house. It looks like everyone enjoyed doing their part; all smiles while working. Anyway, even if you know how to repair, never forget that you can always seek professional help for things you still need to learn.
ReplyDelete-Jaye Conaway @ AllHoursPlumbingAndDrain
Wow i can say that this is another great article as expected of this blog.Bookmarked this site..
ReplyDeletetravertine floor tile